Wooden signs are one of the best additions when it comes to house decoration. They add to the aesthetics of your house and do it in a very creative way that totally captures the attention of whosoever is looking at them.
However, if you go out and buy them, it will be very hard to get a wooden sign which matches your needs and even if you find one, it will be quite costly. So, it’s a lot better to make them at home, and the process is also quite interesting. If you’re a DIYer, it’ll be even better.
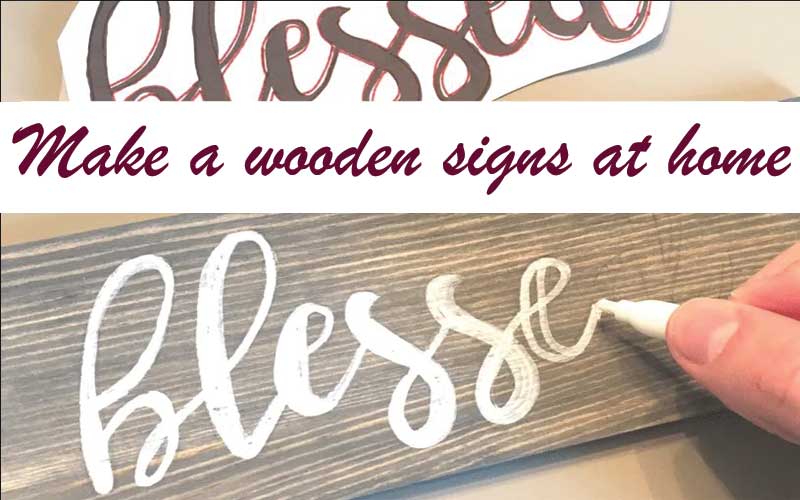
So, in this article, we will learn how to make wooden signs at home (DIY wooden signs) in a very easy way. Make sure you read through the end to discover each step.
Table of Contents
Steps for Making DIY Wooden Signs
Step 1: Gather Your Supplies
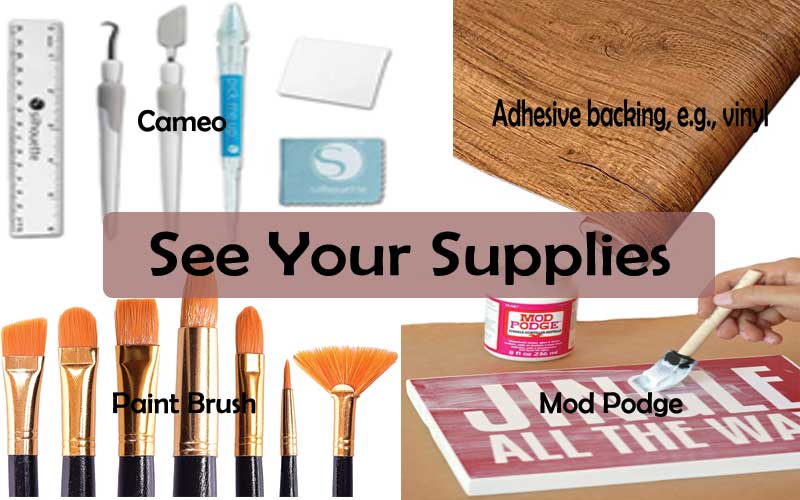
Before starting the process, make sure you’re done with buying your supplies so you won’t have to go shopping midway to your work, which could disturb it and make you lose track. Here, I’m listing down all the things you might need during the project. Make sure to grab them all before sitting down to start working.
- Cameo
- Adhesive backing, e.g., vinyl
- Mod Podge
- Brad Nailer
- Piece of plywood
- Paint Brush
- Colors of Your Choice
- A Board
You can find all these things from a local hardware store. Once you’ve successfully gathered all these things, we can move forward with the project.
Read Also: Best Wood for Cutting Board and Butcher Block Materials
Step 2: Plywood Acquisition
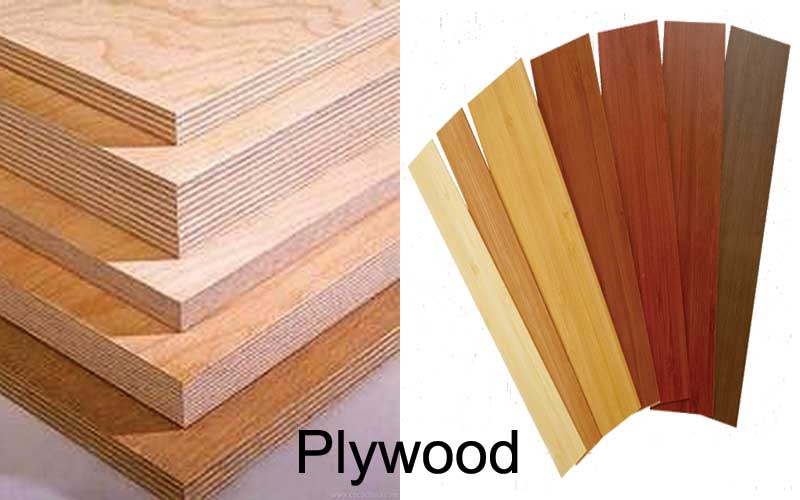
Getting the plywood is the most important part, obviously. You cannot start working before you have it. Even though it completely depends upon you what size you want to buy for your project, I would highly recommend buying a ½ thick piece.
You could also go with ¼, and in fact, many people prefer it, the reason I won’t recommend it is because it sometimes becomes hard to nail it. Otherwise, if you’re comfortable with nailing it and you’re not a beginner, you might as well go for it.
Step 3: Building the Frame
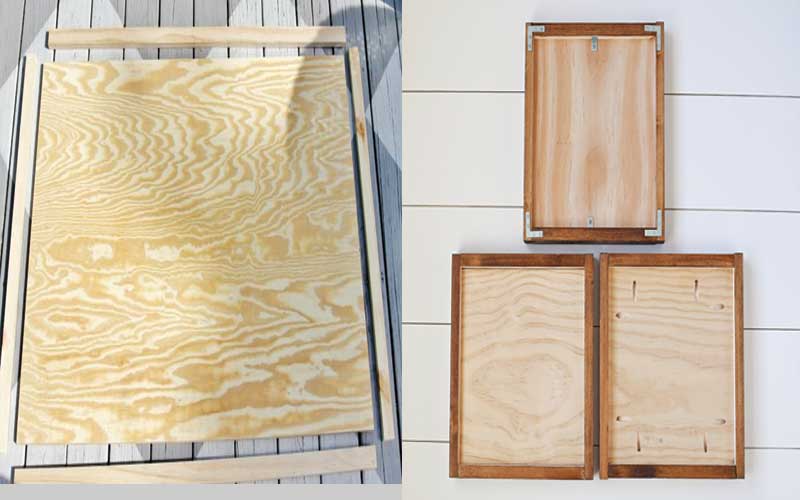
Building a good and sturdy frame is as important as getting a good design onto the board. So, don’t treat this as a trivial step and put stress on it as much as you’d do on making the design.
As I mentioned before, you could use ½ pieces and first cut the sides, then the top and bottom, and stain them before joining. When you’re done staining the blocks nicely, let them dry off.
An important thing to mention here is that you should find a good quality staining material to achieve the staining. Otherwise, all your effort would be in vain. For my personal use, I chose Early American by Mintwax Stain.
You could choose whatever is available to you but buy it after proper inspection. You could go through the reviews first or compare them with each other to decide what’s best for your specific purpose.
Anyways, once you’re done, you can join all the sides of the pieces to come up with a solid frame. Now, let’s move forward to the real deal! Making the design that will be imprinted on the wooden sign.
Read Also: The Best Wood for Carving Bowls
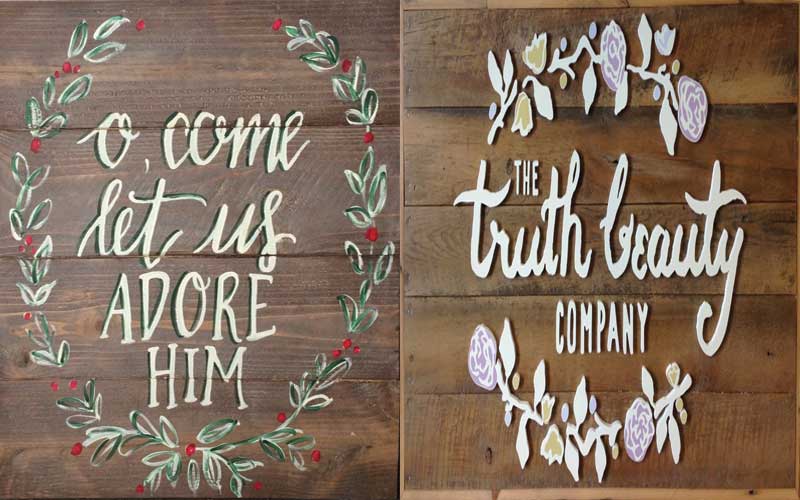
Step 4: Making the Sign
Once you’re done with the plywood, the second step is actually painting the sign on the board that you want. First, decide the sign you want and what will be the background for the sign on the board.
When you’re done deciding, paint the background on the board you want, and after that, you can start things off.
One thing to make sure of here is to stay cautious when painting the sign. While painting the background is pretty easy, you have to be very careful while painting the sign as going off by a little could cause you to waste the board.
So, what I do is make a little rough sketch of the sign on paper beforehand, so I exactly know how to make it and have the proper measurements in my head as well.
Step 5: Coming up with the design
Now comes the fun part, here. You will actually come up with the design you want to imprint on your wooden sign. You can google any online software on the internet for making the design as you’d like if you don’t have any dedicated software on your machine already.
The software usually is pretty easy to use even if you don’t have any prior experience. Just set the pixels, the size, pick a brush, and start designing. When you’re done, save the design on your local machine.
Make sure you put enough time into making this design, as this is the thing that is going to matter the most in the end. Don’t compromise on it and give it as much time as it needs.
Another thing to note down here is that you could completely skip these automation steps if you’re an expert artist and prefer to make the designs by hand.
However, I’m not going to drop the details for drawing by hand since the experts would know it already. And for beginners, the automated way of using software is much better.
Read Also: 10 Best Wood for Dremel Carving
Step 6: Make a Cut File
Now, the second part of making the design is to convert the jpg file we saved previously to a cut file. A cut file is nothing but a conversion in the form where you can cut it in the way you want it in the hardware.
Now there is much software you could use to convert the jpg into the cut, and you can see whichever suits you and your computer needs. Also, I recommend watching a YouTube tutorial on how to make a cut file if you don’t have any experience.
Step 7: Cutting the Stencil
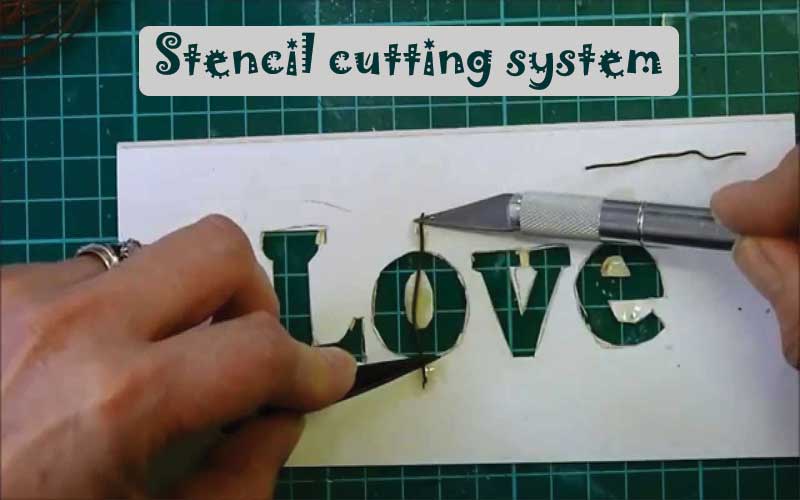
Now, use an adhesive backing such as contact paper or vinyl to come up with a stencil. You’ll need to use a specific machine for this and make sure your cutting is accurate. If you have absolutely no idea how to do this, you can refer to an expert.
However, if you have a little confidence about this, you could again go to YouTube, and you’ll find thousands of tutorials there that would help you throughout your journey.
Read Also: Top Wood for Salad Bowls
Step 8: Cleaning the Stencil
When you use contact paper or vinyl, there will be some parts of it that will get stuck to the stencil. This step includes taking the parts of the contact paper or the vinyl off the stencil to finalize it.
You need to be very careful about this if you want your stencil to be as clean as possible to a neat finishing. So, make sure you put in enough time and do it patiently.
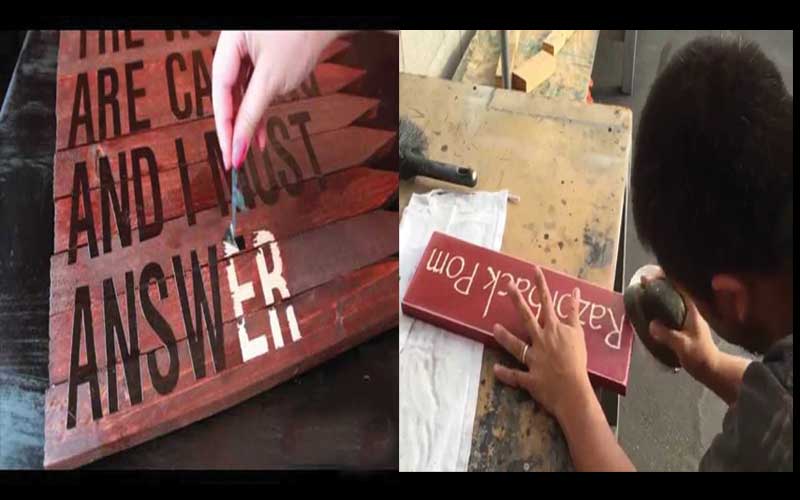
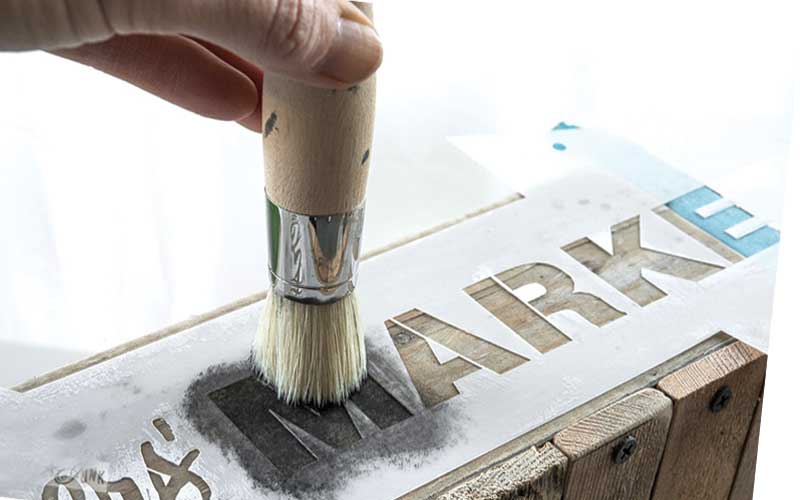
Step 9: Finishing
We’re heading towards the final steps of the process, and this one will almost mark the end of your wooden sign board. Here, you will have all the design ready joined to the board, and all you need to do is finish the design as you’d like.
Mostly, people like to paint the letters on the board with different colors to make it more appealing as a whole picture.
You can easily paint the letter with the colors you like and let them dry off once you’re done. After that, you just need to peel the adhesive off the design, and the design will be ready.
Read Also: Top 12 Best Wood for Carving
Step 10: Nail the Board to the Frame
Here comes the final part. As we have the frame and board both ready by this time, all we need to do is join them using a brad nailer, and we will be good to go.
Assuming you have a brad nailer by your side, the process won’t be much hard. However, if you don’t, you can always rent a nailer or even buy one. They come in pretty cheap and could be used for more projects as well.
Lastly, if you don’t own a brad nailer and don’t want to rent it either, you could use a powerful glue that has the capability of holding the frame and board together.
Enjoy Your Wooden Sign!
That’s all! We’re done making the wooden sign all by ourselves. See? It wasn’t that hard, and you saved a whole lot of money and used all the creativity you had as well.
Final Thoughts
Wooden signs are not only great decoration pieces but also prove to be a top-notch learning opportunity for DIY enthusiasts. However, if you’re a beginner, having a little bit of help in the start is necessary to start making them.
Throughout this article, we have gone through each of the steps involved in making a top-quality wooden sign with no compromises whatsoever. Each step is numbered in order and detailed with everything you might need to know.
So, if you’re also thinking about making a wooden sign all by yourself and you’re a beginner, make sure you go through the complete article and follow all the steps strictly.
That’s all for today! Dropdown any suggestions below if you want, and don’t forget to leave a thumbs up if you liked the article.
Leave a Reply