If you are into DIY, painting can be both stressful and rewarding depending on the kind of project you are into.
Wood is a wonderful natural material that changes its color due to the exposure to sunlight, humidity and other conditions such as room temperature.
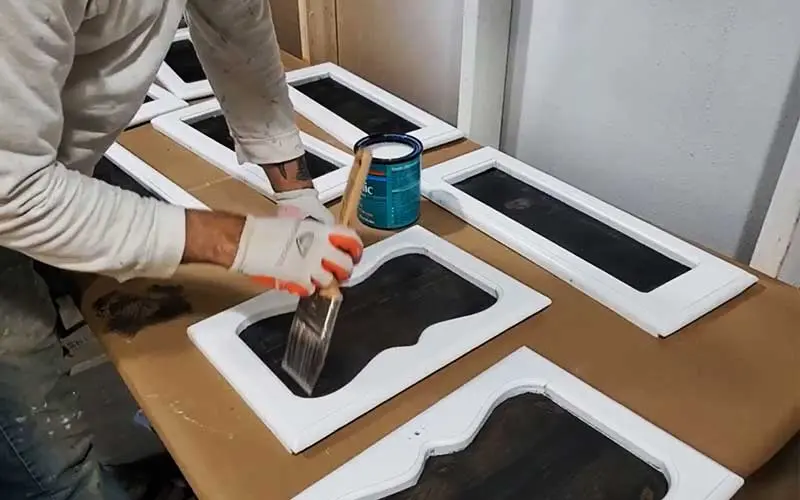
That’s why your wooden furniture will surely need to be painted during its life. The question is: is it possible to paint over stained wood?
The short answer is: yes! It is always possible to paint over stain if you follow the step by step guide that we provide you.
The first thing to consider is that not all the stains are the same, and each of those needs a different treatment.
Basically, there are three different kinds of stains: transparent, semi-transparent and solid stains. Solid stains have the aspect of paint because of their full color.
Transparent stains are stains that you apply to wood to get a certain look; once you have the tone you like, you then apply a polyurethane coating on top.
This is the first difference you have to understand: there are stains that you would use as a protective coating that has pigment, or stain that hasn’t pigment.
Now let’s dive into our 6 steps painting process, starting with all the things you need in order to obtain the best appearance for your wooden project.
Table of Contents
What do you need to paint over stained wood?

Sandpaper
Before even thinking about the color, you need the proper sandpaper, because it is an essential part of the whole process. The best choice is a 150 Grit sandpaper.
There are two ways of sanding: the manual and the sheet sander. The former is quicker, and we suggest you choose it if you are into an extensive project.
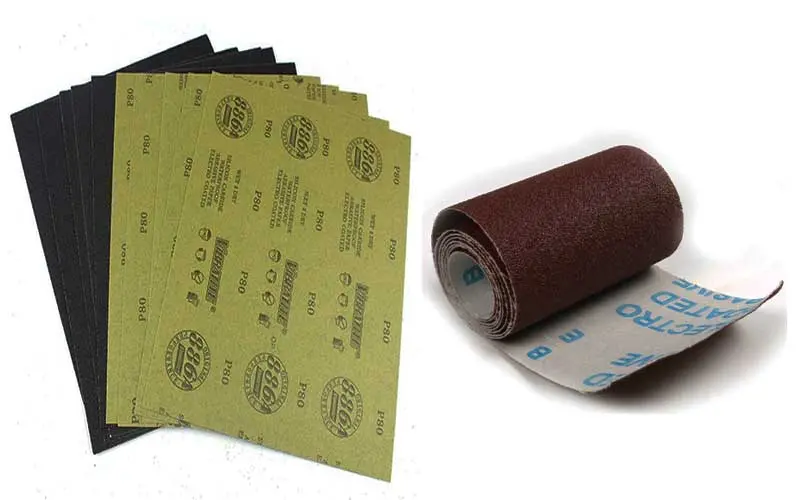
If you are not willing to purchase a sheet sander, the easier way to sand is to use a sponge or a sandpaper brick.
There is a third way, the cheapest you can choose: a piece of wooden lath covered with the sandpaper. That method it’s quite effective with hardwood.
Tarps
Now that you have chosen your sandpaper method, you will need a tarp to keep your work area clean. Providing a clean environment is fundamental to obtaining nice results.
Primer
The next step is choosing a high-quality primer. Priming the wood is necessary because it will seal it and it will prevent paint from soaking into it.
Primer also covers unwanted blemishes and reduces the number of coats you’ll need to apply, allowing you to reduce the overall time of your work.
There are basically two kinds of primers: the water-based (also known as latex primer) and the oil-based. Before choosing your primer, it’s important to understand their intrinsic characteristics.
As the name implies, water-based primer is made with water. This also means that you can clean the primer with water.
You should use water-based primer because: it’s easier to clean and it releases fewer VOCs (Volatile Organic Compounds). That’s why we suggest you use water-based for any indoor projects.
Oil-based primer means that the base of the primer is oil. This primer can be used in combination with oil-based paint.
Oil-based primer is better at sealing in stains and tannins. So, if you have a nasty smoke stain or smell that you’d like to cover, oil-based primer is ideal.
The oil-based primer seals better than a water-based primer, resulting in a better job of locking everything into place and preventing moisture and humidity from damaging the primer.
While oil-based primer does have some downsides, there are several instances where it is still the best option.

We suggest you to use oil-based primer on fresh wood, to seal stains, when using oil-based paint and, generally, for outdoor projects.
Read: How to Get Wax Off Wood
Paint brushes and rollers
Painting is all about being clean and precise: that’s why you will need different foam paint brushes and foam rollers.
Don’t mess with the brushes: you’ll always need a new one for both the priming step and the painting step. The choice among brushes or rollers depends on different reasons.
You need a brush to cut in and out of smaller and more detailed areas, including trims, corners, and edges. Being small and flexible, allows you to control the paint.
Brushes are awesome when you are willing to create a textured effect with brushstrokes, impossible to obtain with rollers.
Nylon or polyester brushes are perfect for water-based paints, while natural brushes are good for oil-based paints, varnishes, and stains.
Rollers are ideal for large furniture; its porous surface holds much more paint than a brush and distributes an even layer of paint much faster.
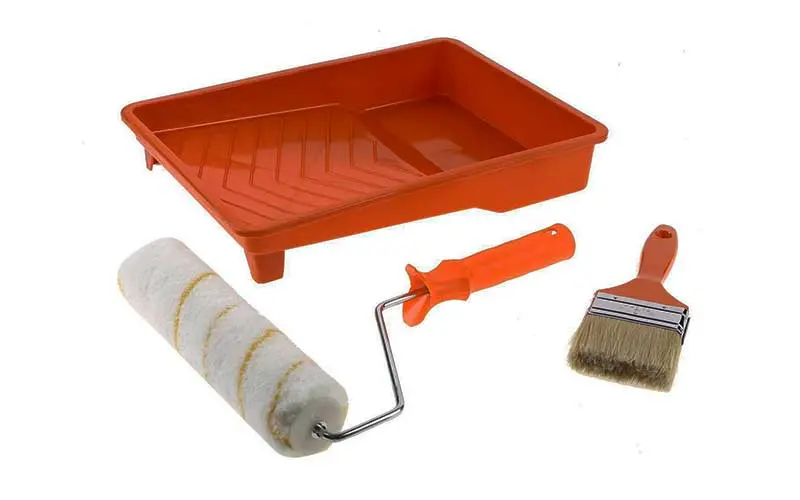
Different finishes can be achieved with different rollers: rollers with a smooth surface will produce a smooth finish, while rollers with fluffy surface will create a more textured finish.
Tack cloth
Sawdust, and dust in general, are the worst enemies of fresh painted furniture. That’s why you need that specialized type of cloth to clean the wood before priming/painting.
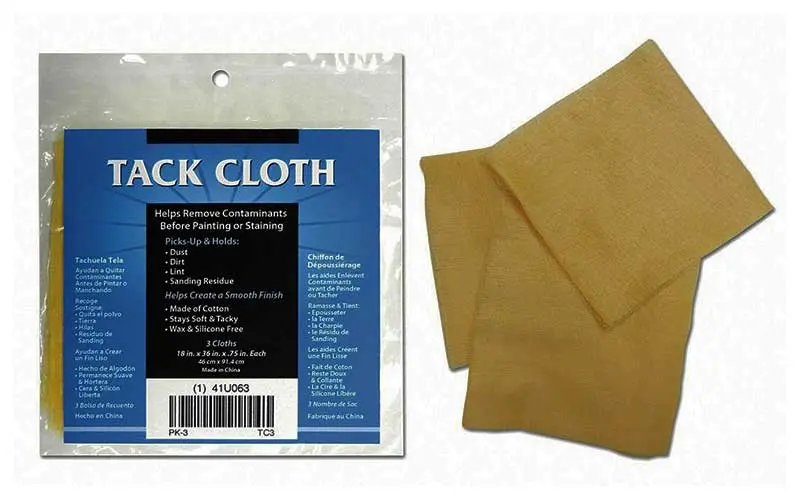
If you are thinking about using paper towels or common cloth, consider that you won’t ever obtain the same cleaning results, compromising the final aspect of your work.
Polycrylic Protective Finish
The right finish makes all the difference. Choose a well-known brand that dries fast and will last a long time.

The shopping list is over: now you are ready to follow our 6 easy steps guide to paint over stained wood.
Let’s start painting!

Step 1: Start by sanding the wood
While some primer manufacturers and guides say it’s possible to paint without sanding, we suggest you sand down your stained wood with 150 grit sandpaper for best results.
Sanding has a clear purpose: making the surface rough enough for the paint to have something to grab onto. There’s no need to strip the entire surface of the wood.
Step 2: Wipe down the wood
After sanding the wood, wipe it down with a tack cloth. This will help remove any particles and residue left by the sandpaper.
Step 3: Add a coat of primer
When priming, use a foam brush and foam roller to get the best results.
Step 4: Wipe the wood with a cloth
After your primed wood is fully dry, take a fresh tack cloth and wipe away any remaining wet spots. Similar to Step 2, do not use a paper towel to wipe down the wood.
Step 5: Paint your wood
After priming the wood, the next step is to paint it. Grab a fresh foam roller and apply at least three coats of either latex or oil-based paint.
The average drying time is 4-6 hours between coats of paint. During this time, be sure to check for any clumped residue that must be removed with a tack cloth.
Step 6: Apply the finish
After applying at least three coats of paint, you’ll need to apply something to protect the wood. The best option is using a Polcrylic Protective Finish.
Final Thoughts
Painting is all about attention and details; that’s why it’s important to follow those rules and be sure you have the right tools and materials for the job.
For best results when painting over stained wood, 4–6-hour breaks are required in between each coat of paint. Give yourself at least two days to complete the entire process.
Leave a Reply